Aklies Roll @ Coil
SKU: AKRollCoil
$639.00
DIMENSIONS
Height: 17.00 Inches
Width: 17.00 Inches
Length: 19.00 Inches
Weight: 40 Lb(s) 0 Oz
Adding this item to your cart will qualify your order for US domestic


 In Stock
QTY:
 In Stock
QTY:
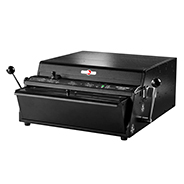
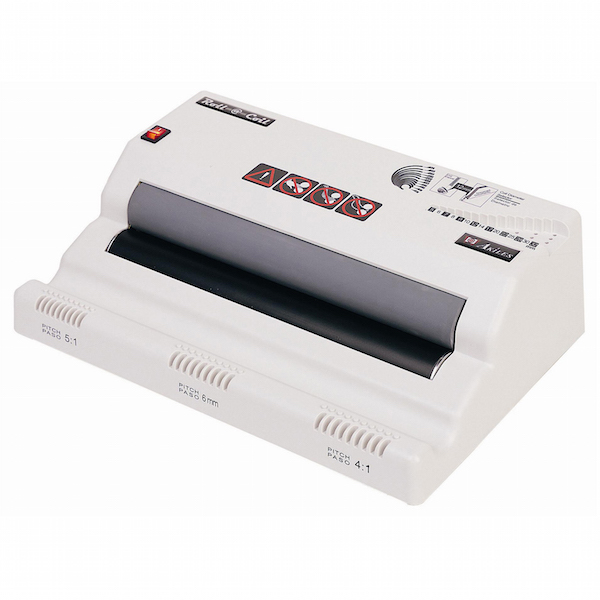
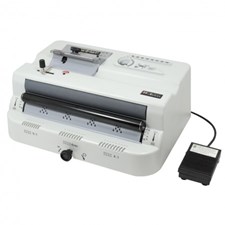
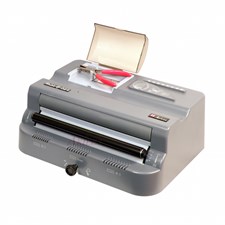
Akiles Roll@Coil Electric Coil Inserter
With Akiles Roll@Coil you save time, reduce costs and make less effort, as it makes coil inserting surprisingly fast, effective and easy. Ideal for businesses that demand professionalism and productivity. And a must for all binding centers with large workloads.
Akiles Rol@Coil Details
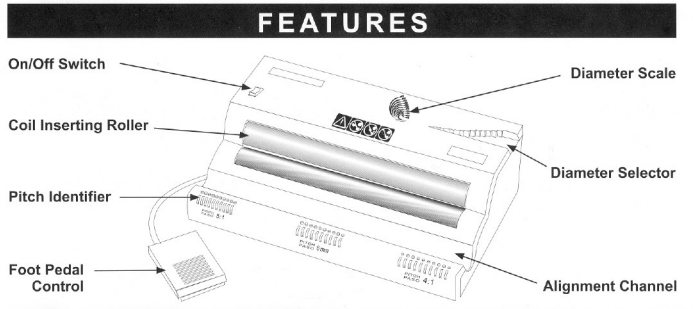
- Diameter Scale: Helps to verify the coil diameter.
- Diameter Selector: To best select the correct coil diameter size to the corresponding thickness of the document.
- Alignment Channel: Aides in conforming the spine of larger documents to the coil shape, for a faster and easier insertion.
- Electric Roller Inserter (Foot pedal operated): Allows the free use of both hands and grants the operator complete rotating control of the roller. Drastically reduces time and costs by making the inserting surprisingly fast and easy.
- Pitch Identifier: Verifies that the coil pitch matches that of the punched document.
Akiles Rol@Coil Assembly Guide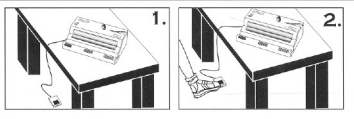
- Place your new Roll@Coil on top of a sturdy working table (Picture 1).
- Turn on switch and press foot pedal to test inserting roller (Picture 2).
Akiles Roll@Coil Safety Instructions
- Keep fingers, hair, jewelry, neckties and any loose clothing or objects away from the roller as they can get caught.
- Do not allow children to operate the machine. The Roll@Coil is not a toy.
- Always turn switch-off and place foot pedal out of reach when machine not in use.
- To reduce risk of electric shock, never operate the Roll@Coil near water.
- Do not use the Roll@Coil if power cord is damaged.
- Do not allow electric cord to come into contact with hot surfaces.
- In case of malfunction, return the unit to your distributor for service.
Akiles Roll@Coil Binding Guide
- Align punched document on Alignment Channel. This feature is especially helpful for larger documents (Picture 1).
- Place document on top of machine or table and insert the coil into the first 4 to 5 holes (Picture 2).
- Hold document evenly against roller (coil must be slightly higher than roller) (Picture 3).
- Press foot pedal. The coil will automatically move forward inserting itself into the holes (Picture 3).
- After the last hole insertion IMMEDIATELY move document away from roller and/or stop pressing the foot pedal.
- Use crimpers to cut & crimp the excess coil. Make sure you crimp in both ends. This procedure will prevent the document from unbinding itself (Picture 4).

Contact Finitura for more information on Akiles binding machines.


